
How To Paint Moody Seascape in Watercolor in 7 Easy To Learn Steps

This painting was inspired from my travel to Melbourne Australia in 2019. In this blog post, I will teach you a step-by-step guide on how to paint a moody seascape in watercolor. Water is one of the hardest subject to paint. I remember failing my first few attempts but it’s really true that every time you paint, you keep learning new things. Every time you finish an artwork, you learn what you could have done better and therefore, prepares you to avoid mistakes in your succeeding artworks.
“You can’t use up creativity. The more you use, the more you have.”
Maya Angelou
The Reference Photo
Here is the shot that I took at Torquay Beach. We were on our way to see the 12 Apostles when the tour guide decided to give a little detour to this quiet beach before we went to Ocean Road. It was a 4-seasons day and at this time, from a really sunny weather, it suddenly turned cloudy and it rained. This photo was taken moments before the downpour.
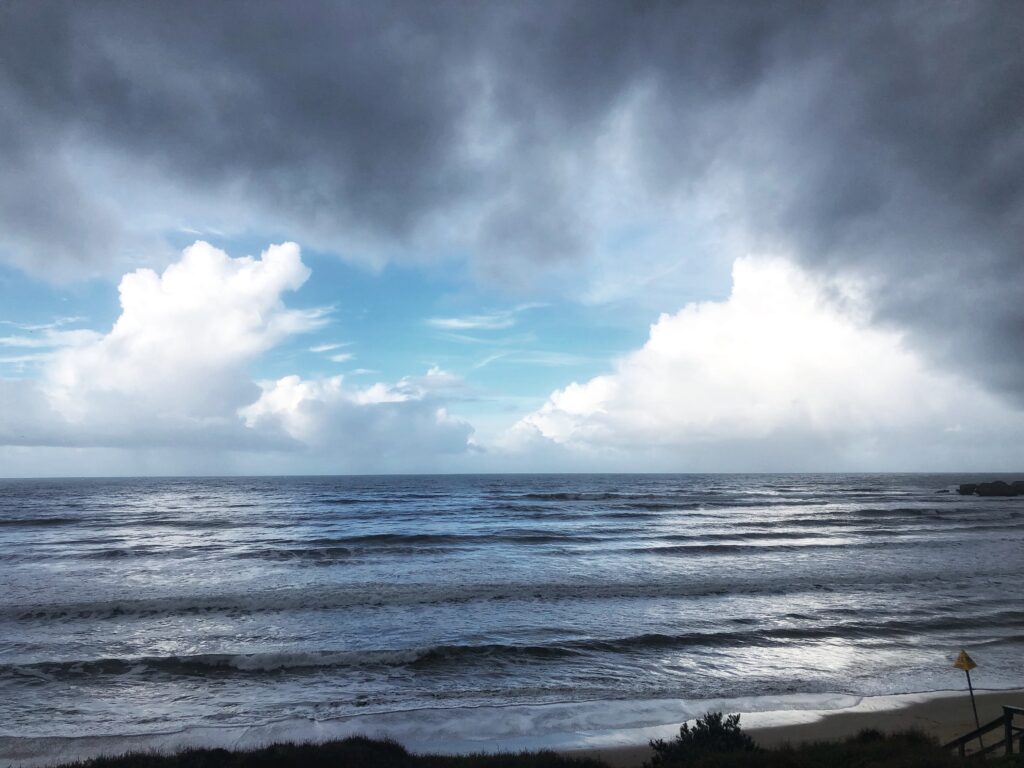
Notice the mood in the photo, the dark clouds framing the sky and how the waves move.
Steps on How to Paint a Moody Seascape in Watercolor
1. Painting the Sky. Mark the horizon with a light pencil sketch and start painting the sky. Roughly add in your choice of blue in areas where you want the sky and leave the cloud areas white. 
Add in Payne’s Grey for a moody sky effect and blend as desired. It helps to tilt the paper when you want to blend the pigments without having brush marks on the paper.

2. Painting the first wash for the sea with the same blue mixture used for the sky from the horizon line downwards. Make sure you leave some white space, for the reflection of the clouds.
3. Painting the Water. After setting in the first wash for the sea, and making sure the whole painting has dried up, mask out the sky with a masking tape, with the bottom of the tape touching the horizon line.
Wet the sea part of the paper and With a darker blue, start painting the water. Paint the second wash in horizontal strips, and let the paint spread on the damp paper.
4. Painting the water details. Slowly build up the details by blending in an even darker blue colour mixture by adding in Payne’s Grey, also in horizontal strips. This is to introduce movement of the water.
While painting the sea, be mindful of the sky being reflected on water. So make sure the cloud reflections, have less paints compared to the sky reflected areas on the water.
Keep painting ang blending the colours with the same horizontal brush motions in strips until you’re satisfied and let this second wash dry.
5. Painting the Waves. After the second wash dries up, start painting the waves using a wet-on-dry technique. Start painting smaller streaks from the horizon.
As you move along to the bottom of the painting, the streaks or the waves should appear bigger. This is to emphasize the perspective of the sea.
Make sure your streaks are not straight lines, but rather uneven brush strokes mimicking the shape of the waves.
For the larger waves, blend the bottom part of the streaks for a more detailed-looking waves.
6. Finishing up. After painting the sea, peel off the masking tape on the horizon and using a darker blue mixture, wash the horizon area to intensify that part. make sure you blend it downwards with water.
Let the painting dry, and you’re done!
The Finished Artwork
I hope you learned everything you need to know on how to paint a moody seascape in watercolor! You can watch the whole process on youtube to understand more, and if you follow through my tutorial, please feel free to tag me with your painting on Instagram so I can see your artwork too! For more tutorials like this, you can browse my youtube channel! Do hit the subscribe button to stay updated with the posts!
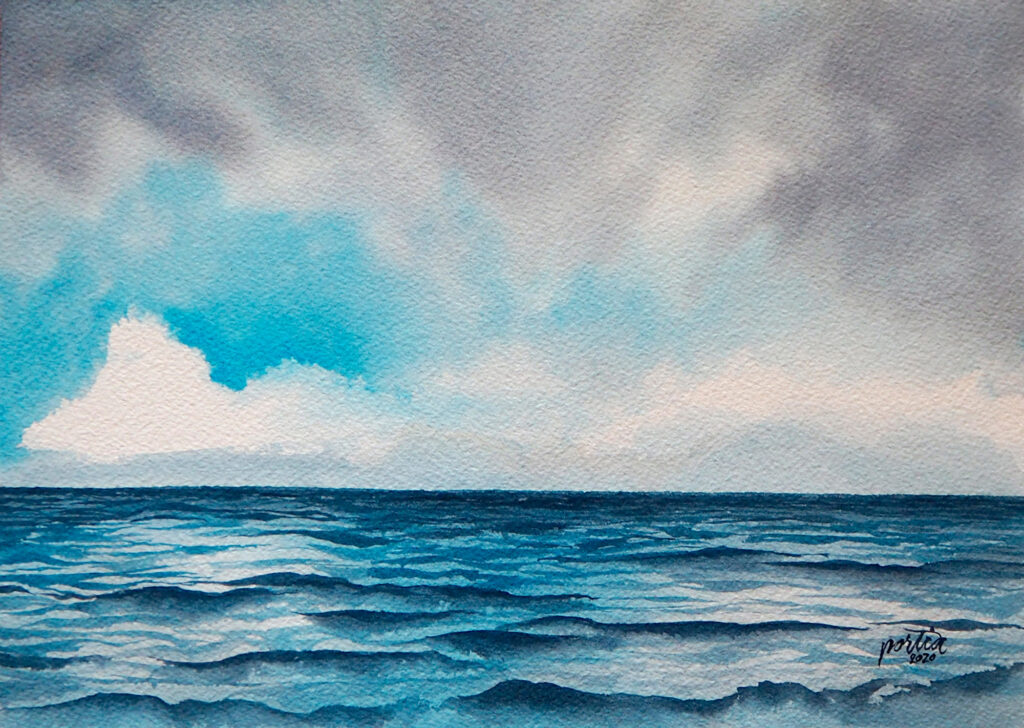
9"x12"
Watercolor on Cotton Rough Paper (300gsm)
Tags: artblue seacreativefine artGalaxyM. Grahammoody seaoceanPortia Barucseawatercolor paintingwatercolor seawaterscape
Comments are closed.